|
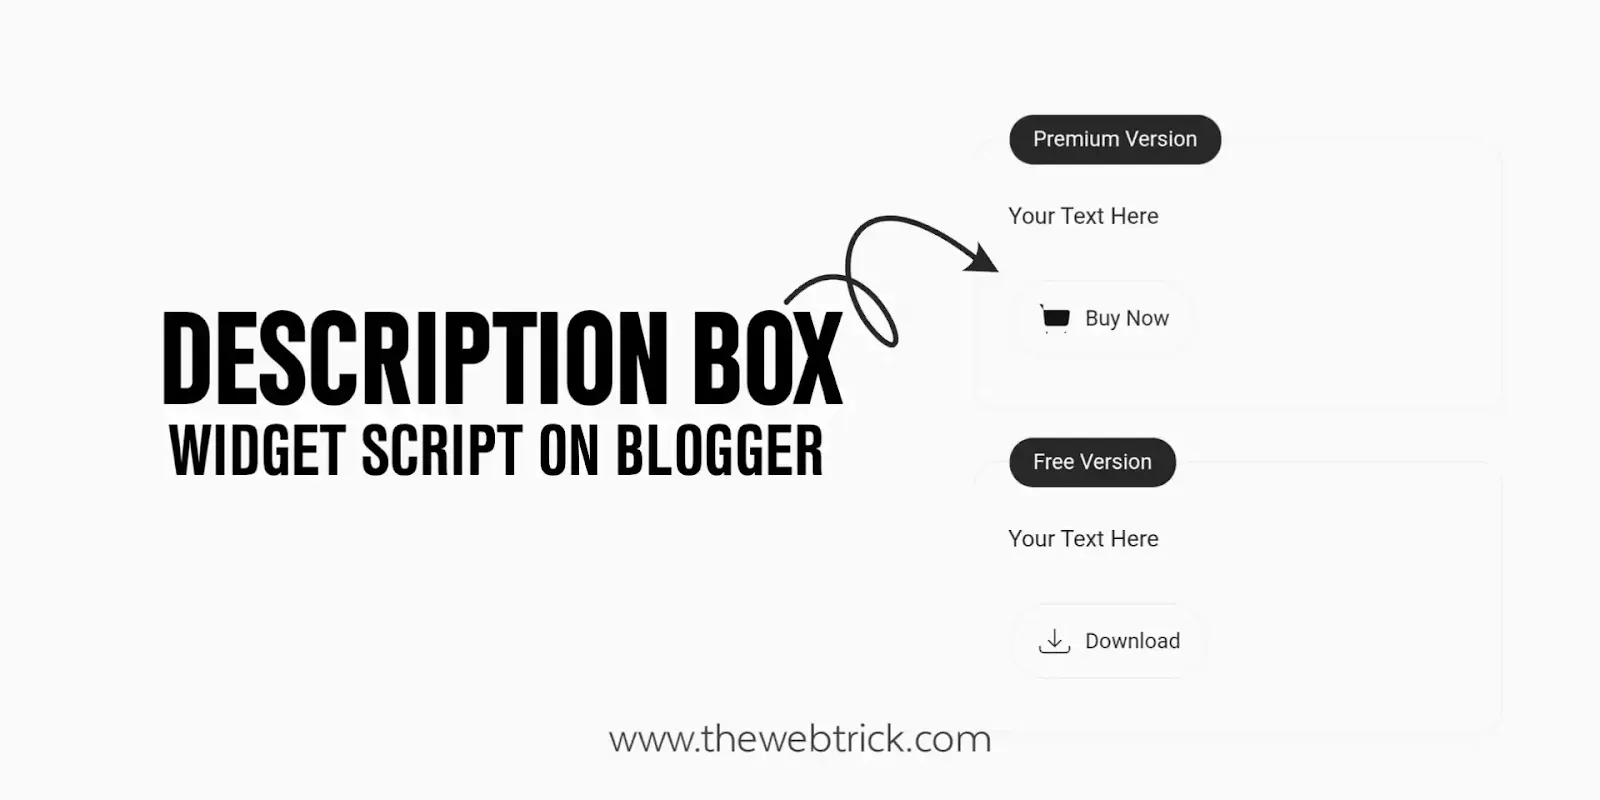
Hello Guys, Welcome to TheWebTrick. Today in this article I'm going to guide you step by step to Description Box Widget in Blogger Website. So, follow the easy steps and learn more about how to create stylish description box in the Blogger.
Live Preview
Please visit the link below to see the live demo:
How to Create Description Box Widget in Blogger?
You have to use HTML and CSS code to add description box. We have explained below some steps to add this widget. But keep in mind that if you make a mistake somewhere then this description box will not work properly, so follow the steps carefully.
First step - Adding CSS code
The first thing you should do is go to the template Edit HTML Menu and add the CSS code below to the CSS code group on your blog.
Step 1. On Blogger Dashboard, click Theme.
Step 2. Click the arrow down icon
next to 'customize' button.
Step 3. Click Edit HTML, you will be redirected to editing
page.
Step 4. Now search the code ]]></b:skin> and
paste the following CSS Codes just above to it.
/* Description Box CSS Codes by Right Share */
.rsdesc{position:relative;display:inline-block;width:320px;margin:0 3px 30px;padding:20px; border:1px solid #eceff1; font-size:14px;line-height:1.8em;border-radius:15px;}
.rsdesc h3, .rsdesc h4, .rsdesc b{font-size:13px;font-weight:400; margin:0;padding:2px 14px;background-color:#282828; border:1px solid #eceff1; border-radius:15px; position:absolute;top:-15.5px;left:20px;color:#fefefe;}
.drK .rsdesc b{background-color:#252526}
.rsbutton{display:inline-flex;align-items:center; margin:12px 12px 12px 0;padding:10px 15px;outline:0;border:2px; border-radius:50px;line-height:20px; color:#fefefe; background-color:#204ecf; font-size:13px;font-family:'Noto Sans', sans-serif; white-space:nowrap;overflow:hidden;max-width:100%}
.rsbutton.outline{color:inherit; background-color:transparent; border:1px solid #eceff1}
.rsbutton.outline:hover{border-color:#204ecf}
Step 5. Save your theme by clicking this
icon.
Step 6. Now paste the following HTML code in post/page where you want
to add description Box.
<!-- Description Box HTML Codes by RightShare --> <div class="rsdesc"><b>Premium Version</b><p>Your Text Here</p> <a class="rsbutton outline" href="#"><svg class='line' xmlns='http://www.w3.org/2000/svg' viewBox='0 0 24 24'><g transform='translate(2.000000, 2.500000)'><path d='M0.7501,0.7499 L2.8301,1.1099 L3.7931,12.5829 C3.8701,13.5199 4.6531,14.2389 5.5931,14.2359094 L16.5021,14.2359094 C17.3991,14.2379 18.1601,13.5779 18.2871,12.6899 L19.2361,6.1319 C19.3421,5.3989 18.8331,4.7189 18.1011,4.6129 C18.0371,4.6039 3.1641,4.5989 3.1641,4.5989'></path><line x1='12.1251' y1='8.2948' x2='14.8981' y2='8.2948'></line><path d='M5.1544,17.7025 C5.4554,17.7025 5.6984,17.9465 5.6984,18.2465 C5.6984,18.5475 5.4554,18.7915 5.1544,18.7915 C4.8534,18.7915 4.6104,18.5475 4.6104,18.2465 C4.6104,17.9465 4.8534,17.7025 5.1544,17.7025 Z'></path><path d='M16.4347,17.7025 C16.7357,17.7025 16.9797,17.9465 16.9797,18.2465 C16.9797,18.5475 16.7357,18.7915 16.4347,18.7915 C16.1337,18.7915 15.8907,18.5475 15.8907,18.2465 C15.8907,17.9465 16.1337,17.7025 16.4347,17.7025 Z'></path></g></svg> Buy Now</a></div> <div class="rsdesc"><b>Free Version</b><p>Your Text Here</p> <a class="rsbutton outline" href="#"><svg data-name="Design Convert" id="Design_Convert" viewBox="0 0 64 64" xmlns="http://www.w3.org/2000/svg"><defs></defs><title/><path class="cls-1" d="M50,52H14a7,7,0,0,1-7-7V41a1,1,0,0,1,2,0v4a5,5,0,0,0,5,5H50a5,5,0,0,0,5-5V41a1,1,0,0,1,2,0v4A7,7,0,0,1,50,52Z"/><path class="cls-1" d="M32,41a1,1,0,0,1-1-1V13a1,1,0,0,1,2,0V40A1,1,0,0,1,32,41Z"/><path class="cls-1" d="M32,42a1,1,0,0,1-.71-.29l-10-10a1,1,0,0,1,1.42-1.42L32,39.59l9.29-9.3a1,1,0,0,1,1.42,1.42l-10,10A1,1,0,0,1,32,42Z"/></svg> Download </a></div>
This is all about how to create Description Box in Blogger. I hope you will not have any trouble in making this widget. If you find this article useful, then do share it and stay connected to our blog for more such good tutorials.