|
I located too many questions on including watermark in blogger posts however no suitable solution, so I determined to create an academic for my users to allow them to understand the way to upload automated watermark on their blogger image blog.
Watermark is basically used to prevent your content material from being getting copied and also to link your blog content to your name or brand. For adding a horizontal, vertical or diagonal logo watermark (repeating or non-repeating - multi-line or single-line) to the blogger template just follow the given step by step tutorial with images and a demo.
The watermark that I will share here uses css, and will automatically add a watermark on every image on the blog, like it on the post page homepage and related posts. But keep in mind this watermark only uses css which means it's not permanent, if your image is downloaded then the watermark won't come or it won't exist, so if your image is found in the browser then your image has no watermark.
So it's not 100% of your images can be protected with this watermark, more precisely this is just to beautify the appearance, if you want to protect your images I recommend using a photo editor to make it permanent, and keep in mind that maybe not all templates can match this css, because each template can have a different thumbnail class name, so a basic css understanding is needed here because you have to be able to adjust the class to the template you are using, ok make those of you who want to make it, let's see how below.
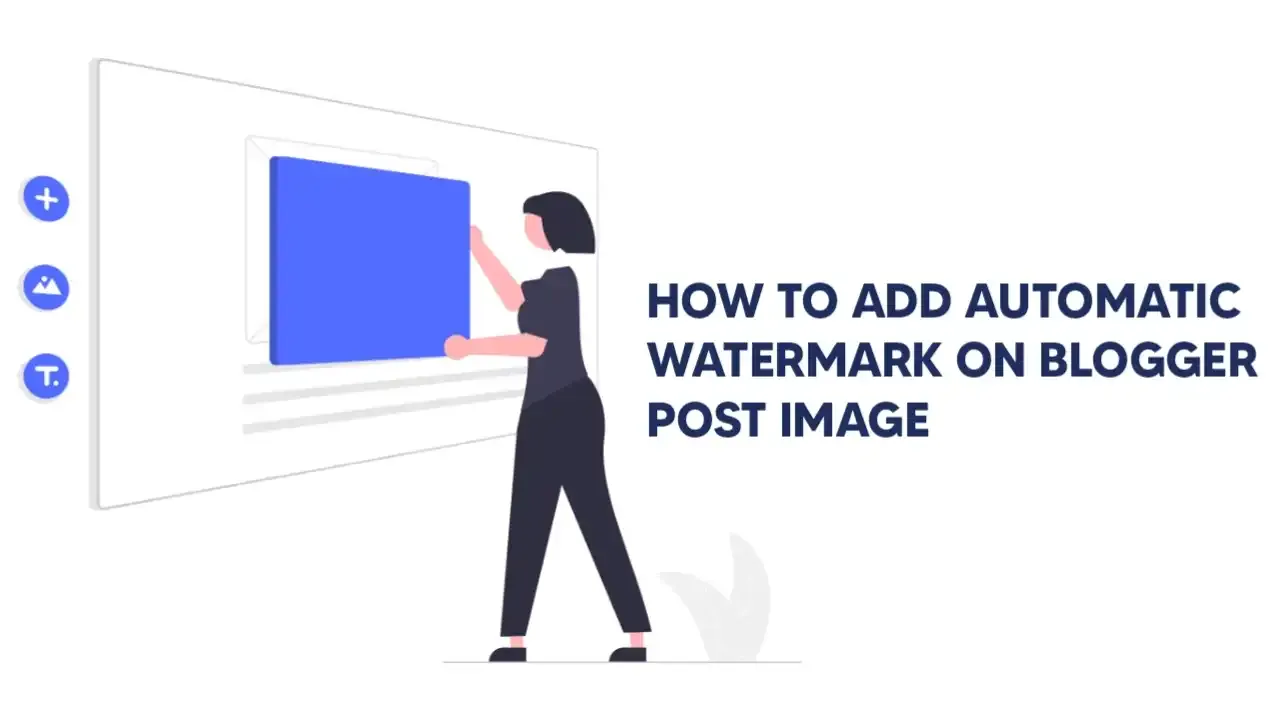
Create Automatic Watermark On Images In Blogger
Okay, I'll explain in detail how to create an automatic watermark in the blog article image. Just follow this step.
.postEntry .separator{position:relative}
.relatedPosts .itemThumbnail div{z-index:2}
.onPost .postEntry .separator:before{bottom:7px}
.postThumbnail a:before, .postEntry .separator:before,.relatedPosts .itemThumbnail > *:after{content:'The Web Trick';position:absolute;right:0;bottom:0;display:flex;font-size:10px;font-weight:bold;color:#fff;z-index:2;border-top-left-radius:10px;background-color:#4d4d4d;padding:5px 7px;opacity:.7}
Caution :
The part that I marked The Web Trick please change with
the name of your blog, and if you are not using the median-ui 1.5 template you
need to adjust the class in css